DIY: Wedding Gown Invitations
These fun DIY wedding invitations are perfect for bridal showers, bachelorette parties, menus or the big day! There are countless color options and paper types you could use to create elegant, earthy or whimsical styles. To learn how to make these fun invites, read on:
Supplies You’ll Need:
- White Flat Invitations & Envelops
- Any two colors of ribbon (we chose red & black)
- Shimmer Paper of any color (we chose Onyx)
- Embellishment to decorate
Tools to Make Things Easier:
- Pencil
- Scissors or hobby knife
- Paper Trimmer
- Glue Gun or other paper-friendly glue
- Word Doc Template (If you want to print details instead of writing)
Let’s Begin! How to Create these Invitations:
- Decide now whether you want to hand write these invites out or use the premade Word Doc template. This template contains two text boxes per invitation- one located on the bust of the dress, another on the skirt of the dress. Browse this site for free fonts!
- Using a paper trimmer, cut 7 ¼” x 5 1/8” Onyx backers and set aside.
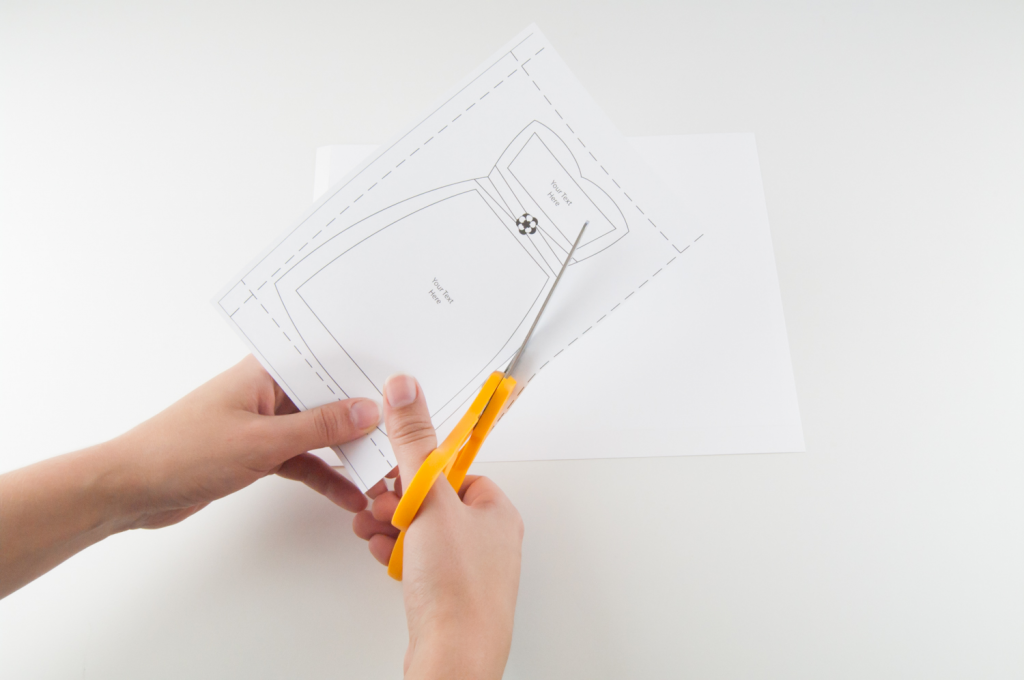
- Print Dress Template and cut out. This is only the template so it doesn’t need to be perfect:
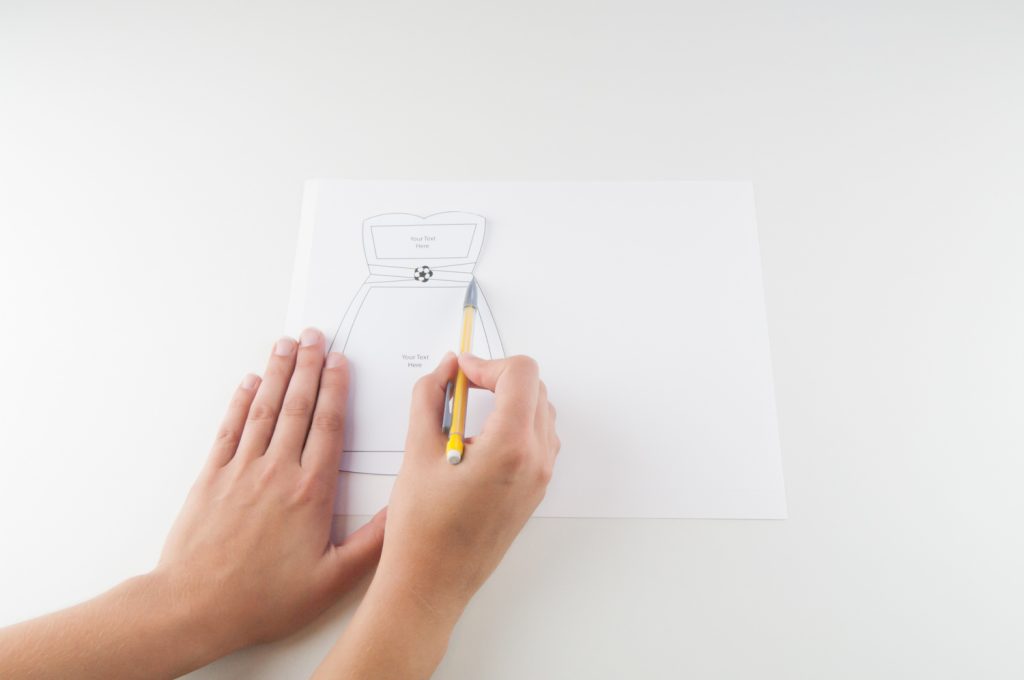
- Trace the cut out onto the plain wedding invites. Again, this doesn’t need to be perfect- enough to see the shape so you can cut.
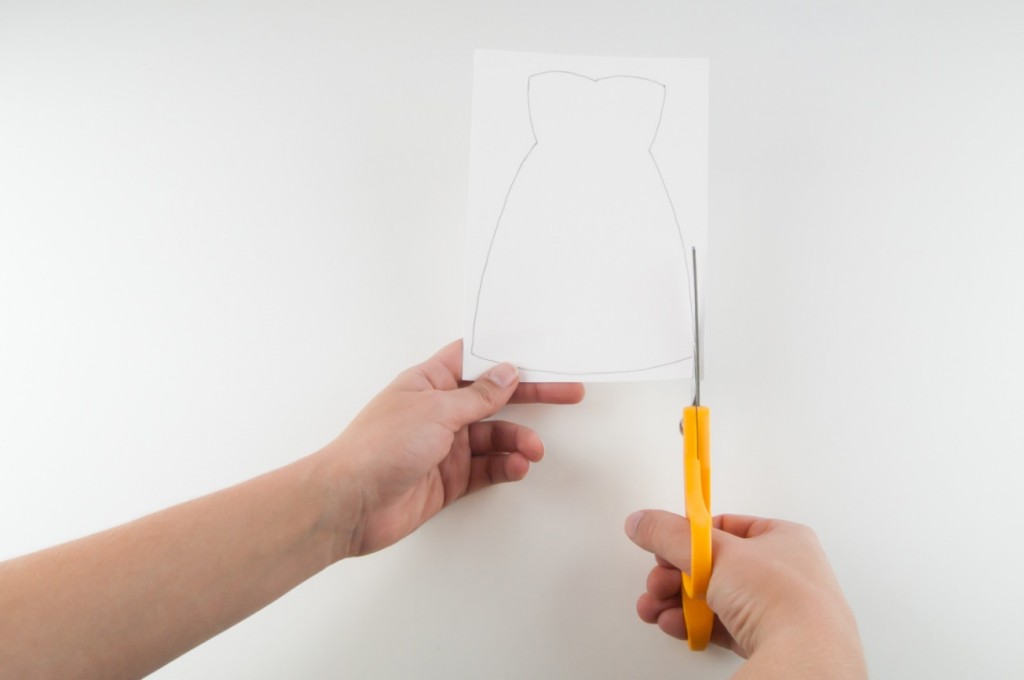
- Cut them out! While manual cutting seems risky, the shape of the dress is pretty fluid. I am no master scissorman and had little trouble with it. Once you get in the groove, it’s as easy as wedding cake.
- Once you have your dresses cut out, you’ll want to decorate them. There are many ways you can decorate including:
- Stampers
- Rhinestones
- Ribbon
- Brightly Patterned Paper
- Water Color
- Shimmer Markers
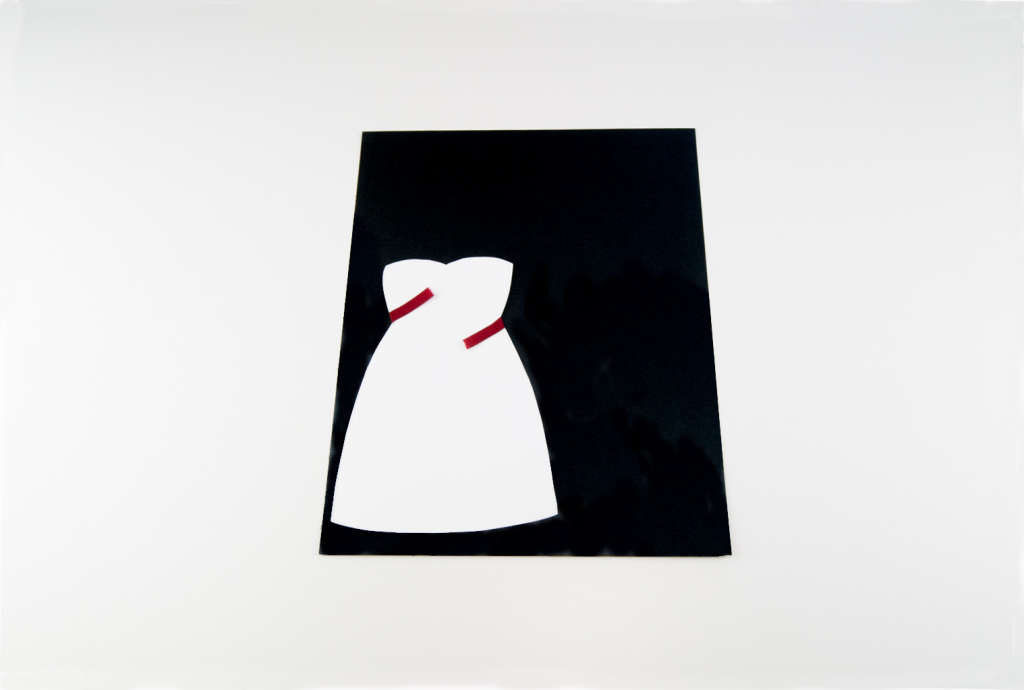
I used short ribbons and rhinestones which is simple and elegant. To attach these ribbons, use a hot glue gun to dab pea-size dollops onto the dress invitation, securing each side like so:
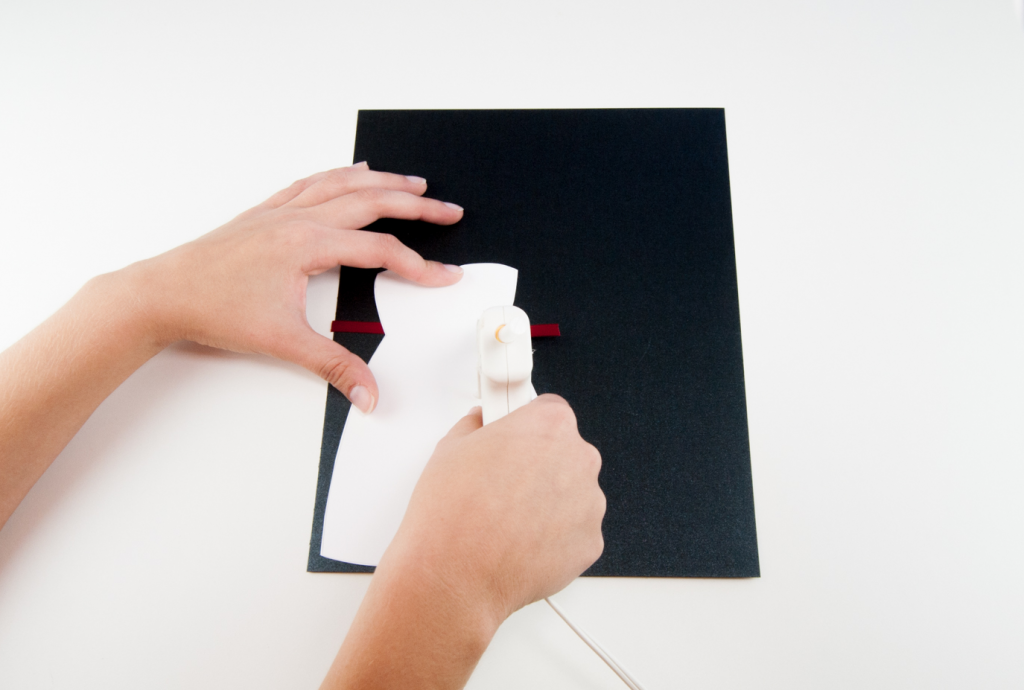
Hint: To make sure each ribbon shows properly, glue with the ribbon going in this direction:
- After you’ve glued both ribbons in place, add your embellishment. We’ve used a Crystal AB Swarovski rhinestone from Michaels, but you can embellish with whatever you’d like.
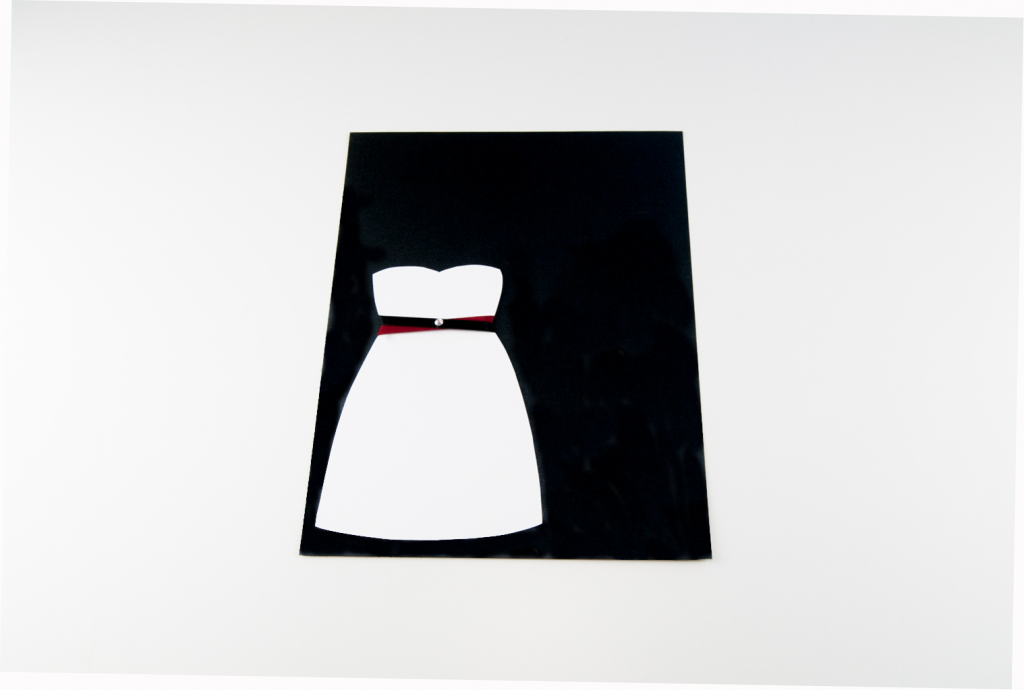
- Finish the invite by gluing the invite (with either hot or glue runner) onto the shimmer onyx paper.

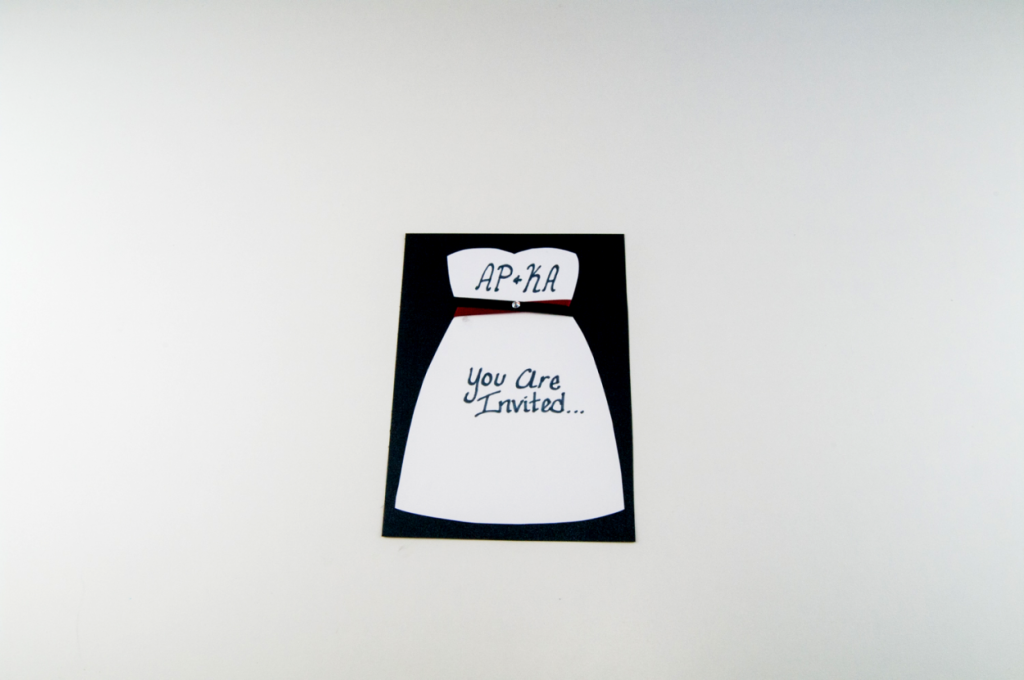
- Here’s the final invite!
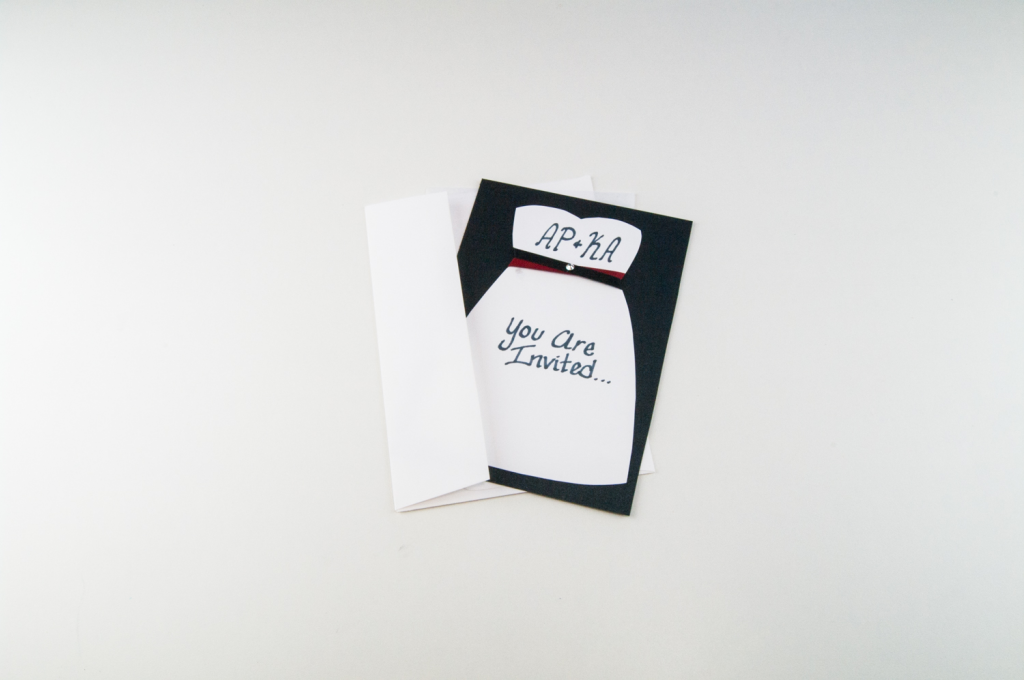
This invitation idea is wonderful because it’s a DIY that looks professional and elegant. Whether you want to use your wedding colors, or go bright pink for a sassy bachelorette party, these invites will remain keepsakes after the wedding festivities are over!
No go, be bold and create your own!